Getting Started with CartaX: Your First Project
From signing in to your first upload, measurement and PIN-protected share — an end-to-end guide to setting up your first CartaX project.
2026-08-17 · 3 min read
This guide walks you through your first CartaX project end to end: uploading data, viewing it on the map, measuring, and sharing securely. Everything happens in the browser; there is nothing to install.
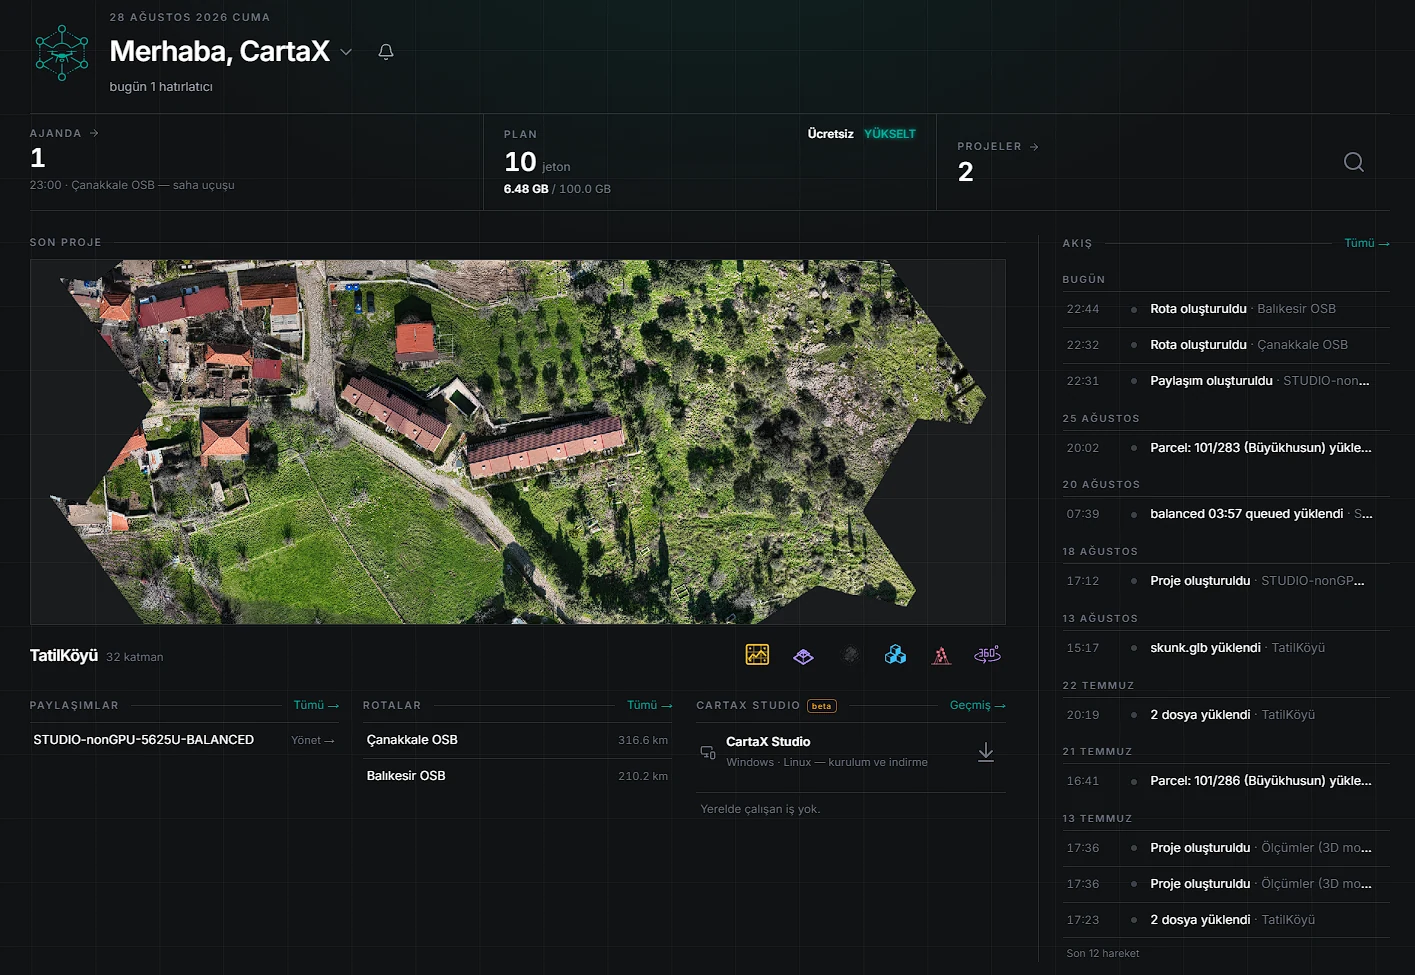
1. Sign in and create a project
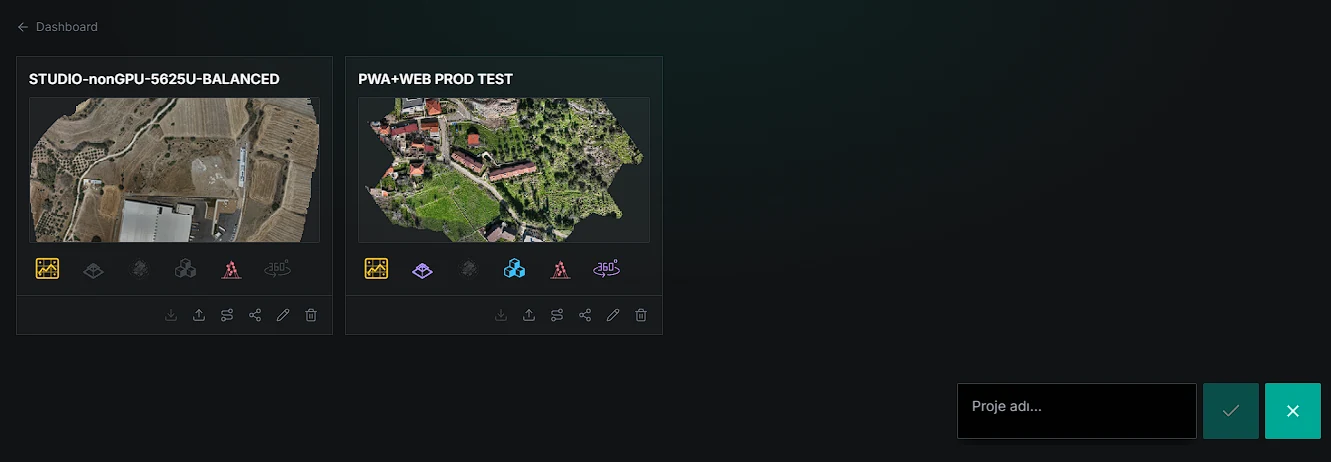
After signing in, create a new project with the + button in the bottom-right corner; your existing projects are listed in the Projects panel. Projects are the unit of work that keeps your layers, measurements and shares together. The Free plan allows 1 project; the Professional plan has no limit.
2. Upload your data
The Upload data dialog — opened from the map or from a project card in the Projects panel — is organized into cards by data type: point cloud (LAS/LAZ), orthophoto (GeoTIFF/COG; the DSM/DTM elevation model is attached as a companion file of this card), vector (GeoJSON/KML/SHP/DXF), 3D model (3D Tiles/GLB), 3DGS (Gaussian Splat) and 360° content. Drop your file on the matching card; see Supported Formats for format and size limits.
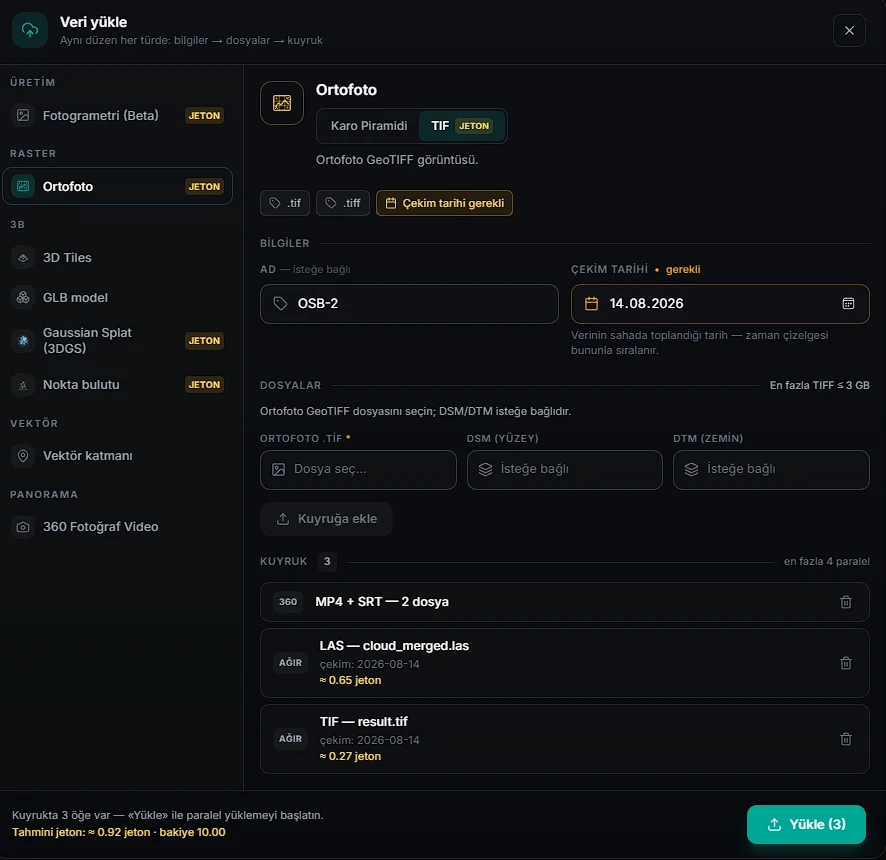
Raw LAS/LAZ and GeoTIFF uploads are converted in the cloud (using processing tokens; requires the Professional plan — locked on the Free plan) and appear in your layer list when ready. The token-free alternative: run the conversion on your own computer with CartaX Studio and upload the ready output. Vector files are processed instantly in the browser.
3. View on the map
All your layers come together on a single 2D/3D map. The layer panel manages visibility, ordering and opacity; switching 2D ↔ 3D is one click. In 3D you work on a real terrain model.
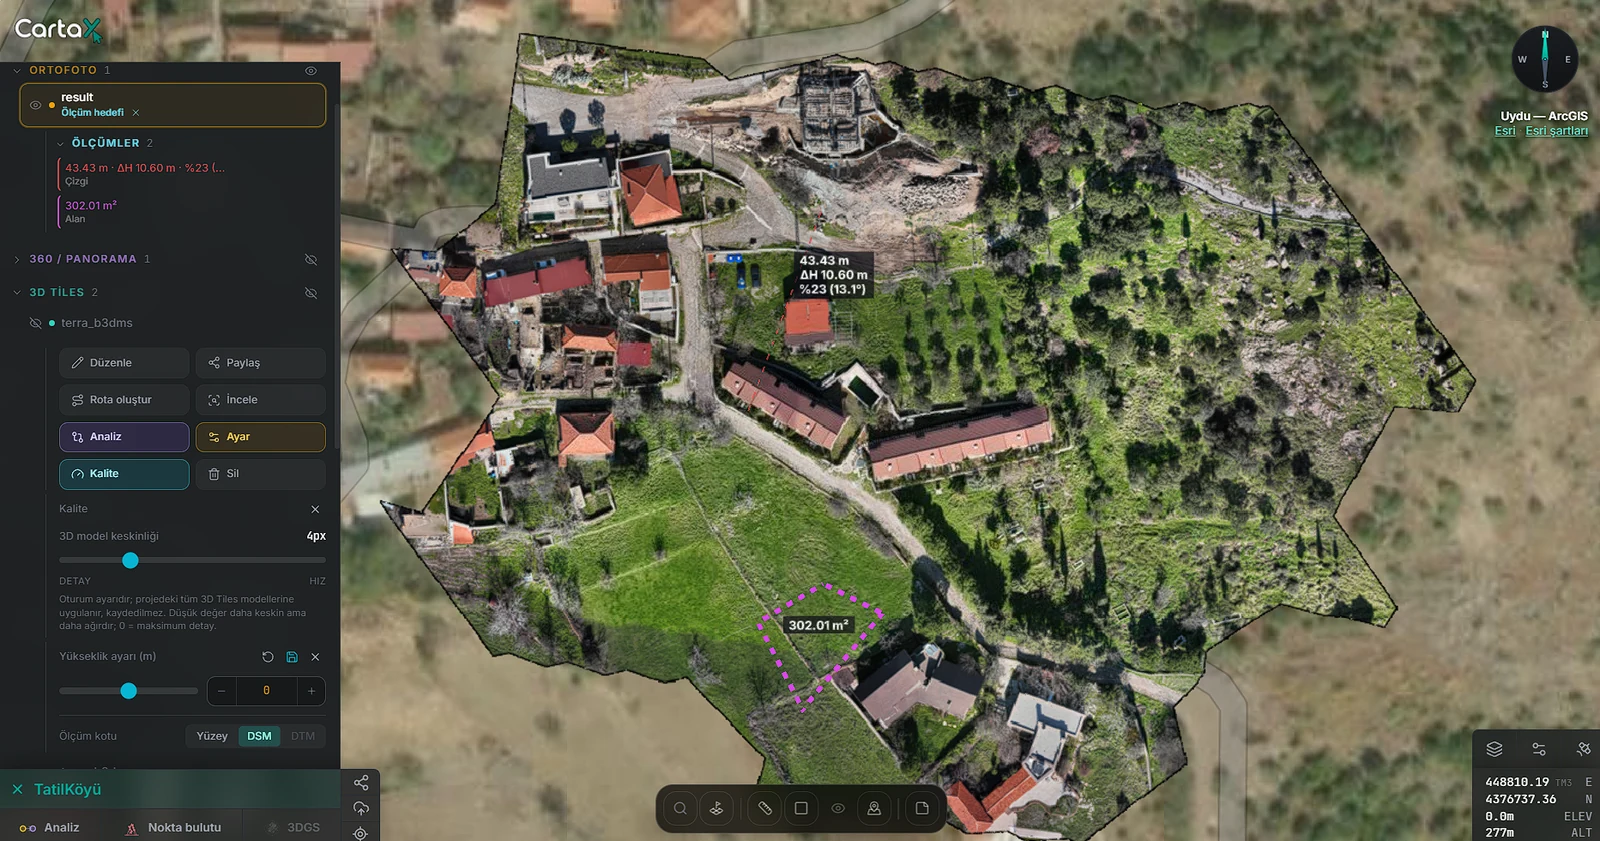
4. Measure and analyze
From the measurement toolbar you can take point (XYZ), distance, line/profile (slope + elevation chart), area, convex-hull area and line-of-sight measurements. Volume and cut-fill calculation, plus side-by-side/curtain comparison of data captured on two different dates, live in the Analysis workspace (Professional plan).
5. Share with a PIN-protected link
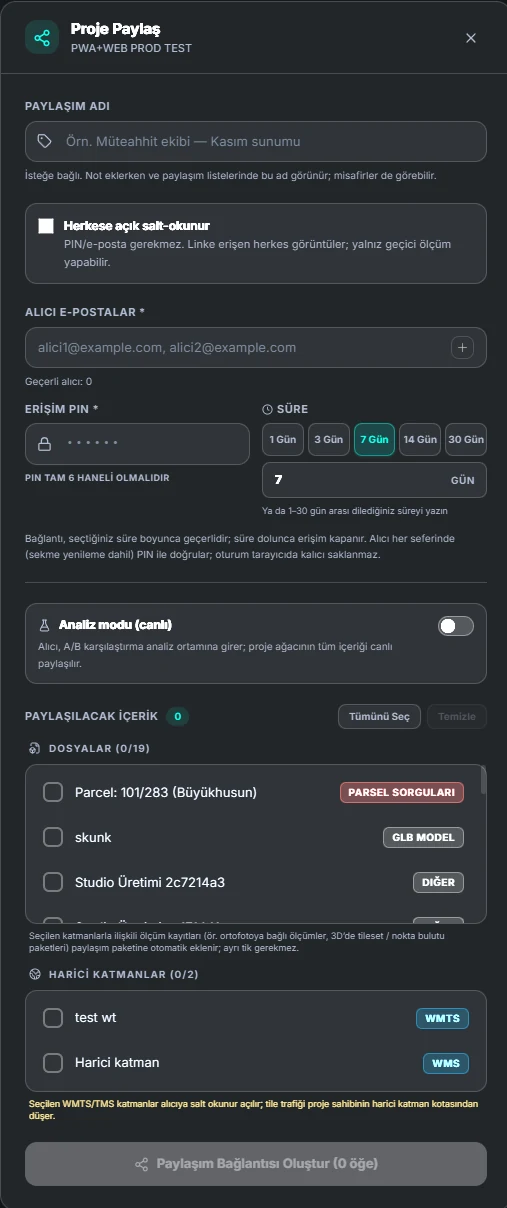
To share your project, create a link: enter the recipient's e-mail, pick a validity period (1-30 days or a custom date), set your own 6-digit PIN and pass it along to the recipient. The recipient views your data, takes temporary measurements and leaves notes with nothing but a browser. Access closes automatically when the link expires. On the Free plan sharing is limited to a single public link: at most 3 days, no PIN and no recipient e-mails.
Next steps
- What are LAS/LAZ files? — know your point cloud formats
- Viewing point clouds in the browser — colour modes, sections and clipping
- What is a COG? — the backbone of the orthophoto workflow
- DSM vs DTM — the choice that decides elevation and volume results
- PIN-protected sharing — duration, guest notes and revocation
- FAQ — common questions on plans, limits and sharing